Using images on your menu looks great and helps parents identify items quickly and easily.
In supplier portal you can upload your own images in the item edit screen, simply click on the item name, then on the item image section.
Image Requirements
For the best result, upload a square (1:1) JPEG or PNG that is at least 800 × 800 pixels and under 5 MB. Images are cropped to a centred square, so rectangular photos may lose their edges. Minimum 100 × 100 pixels.
How to Add or Update an Item Image
Step 1: Find Your Item
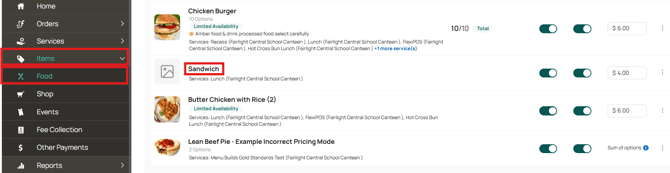
- Click on the Items tab.
- Select the relevant event module (for example: Food or Shop).
This will take you to the Items page. - Click on the item name to open the item editing page.
You can also follow these steps while creating a new item.
Step 2: Select or Upload an Image
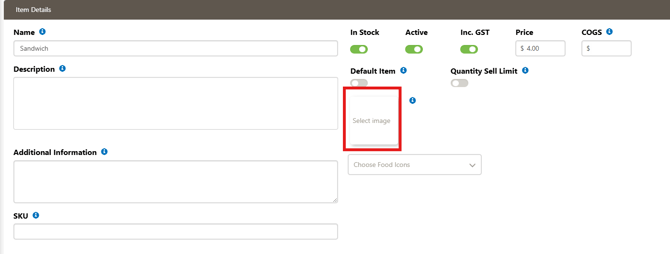
- On the item editing/creation page, click the Select Image box.
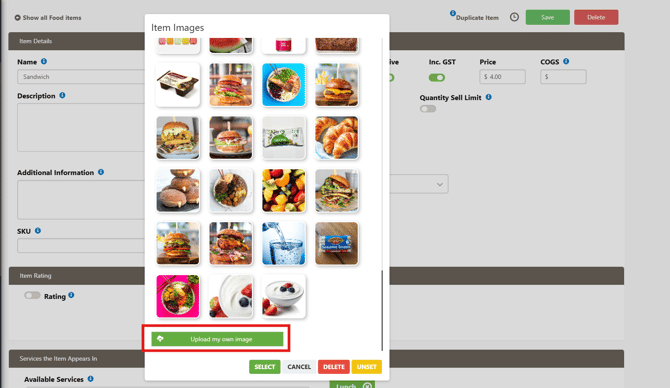
- A window will open showing all images already uploaded to that module.
- From here, you can:
- Select an existing image, or
- Upload a new image from your computer.
Tips for great item photos
- Centre the item and leave a little space around it so nothing is cropped.
- Use a clean, light background with good lighting, and show one item per photo.
- Avoid text, prices or watermarks. Allergen and dietary badges appear over the image when parents order.
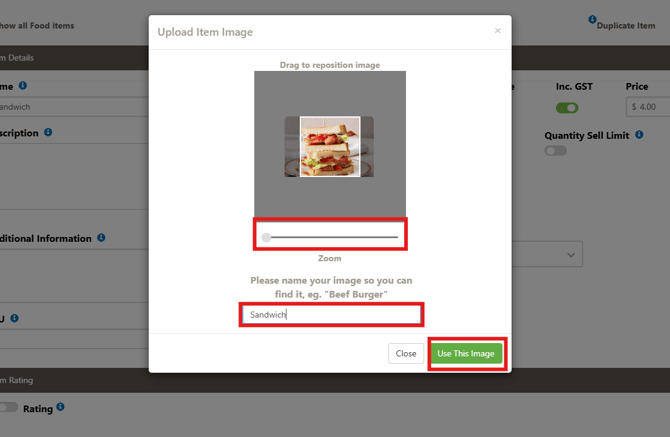
Step 3: Adjust and Save the Image
- Once you’ve selected your image, resize it to fit the image box.
- Enter a name for the image.
- Save your changes.
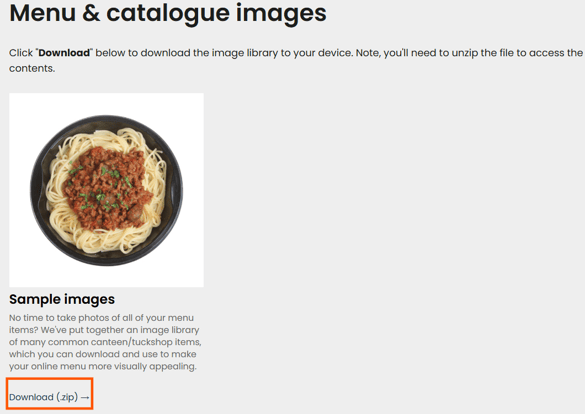
If you don't already have an image to use please see below link where you can download with some common food items in our website and you can upload onto your menu.